

Summary
22 items · 45-90 minutes
Why Pre-Installation Prep Matters
Wall-mounting a TV looks straightforward in product videos, but the real work happens before a single screw goes in. Skipping the planning phase is the most common reason mounts fail - and a falling TV can damage the screen, the wall, and anything nearby. This checklist walks you through every decision point so you arrive at installation day fully prepared.
If you're still deciding whether to make this purchase at all, the pre-purchase checklist for big-ticket items can help you work through the broader decision first.
Never Anchor Only Into Drywall
Standard drywall alone cannot support the sustained weight of a wall-mounted TV. Screws driven only into drywall - without reaching a stud or a rated hollow-wall anchor - will eventually pull out, often without warning. Always confirm your fasteners are seated in studs or in anchors explicitly rated for the load. When in doubt, consult a licensed handyperson rather than guessing.
Tools and Materials You'll Need
Gather everything listed below before you start. Stopping mid-installation to source a missing tool is how mistakes happen.
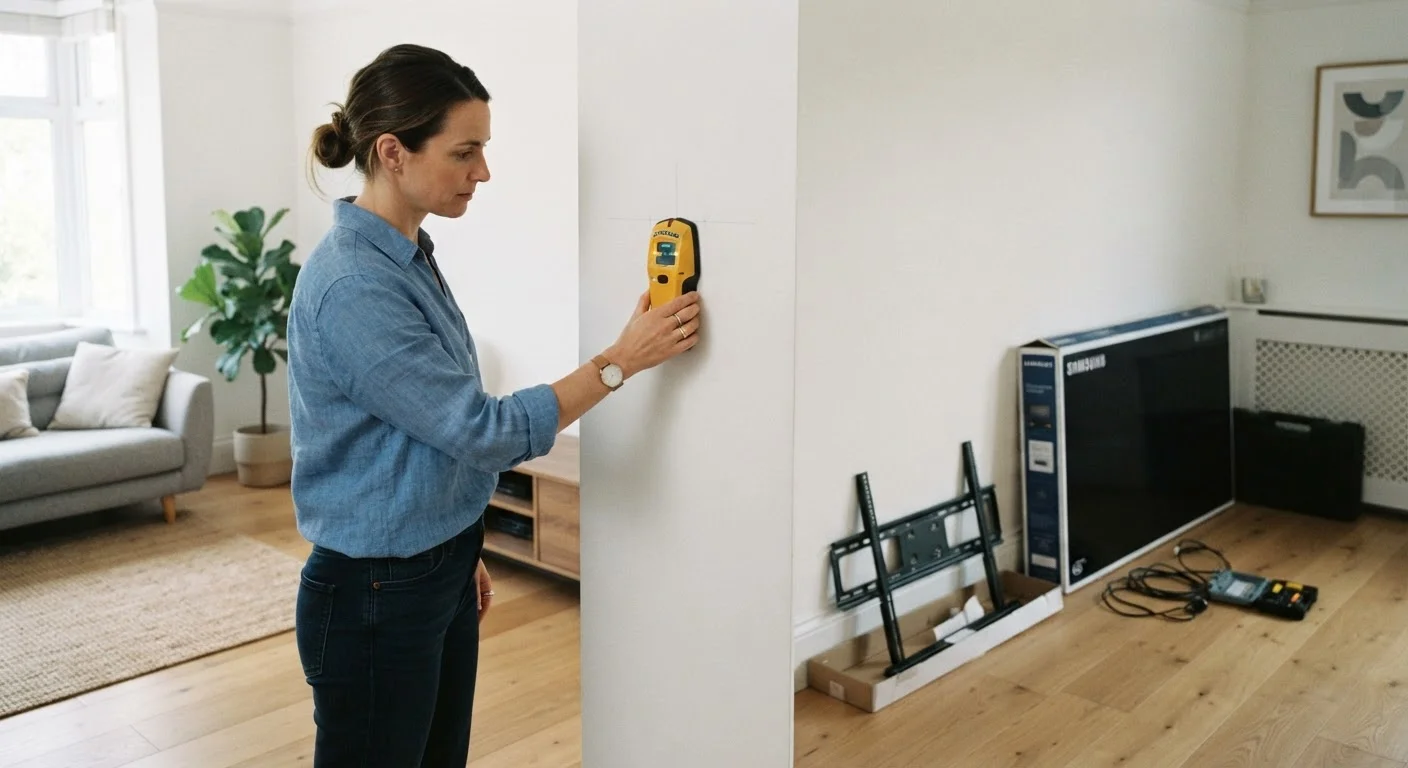
Stud Finder
Locates the wooden or metal framing studs inside your wall so screws anchor into solid material rather than hollow drywall.
Power Drill with Bits
Drives lag bolts into studs and creates pilot holes to prevent wood splitting and ensure accurate placement.
Level (24-inch or digital)
Ensures the wall plate is perfectly horizontal before you commit to the final screw positions.
Measuring Tape
Used to calculate viewing height, stud spacing, cable run lengths, and TV center position.
Pencil and Painter's Tape
Marks stud centers and bracket positions on the wall without leaving permanent marks.
Multi-Detector (Stud/Wire/Metal)
Scans the wall for hidden electrical wiring, metal pipes, and AC current before you drill.
Cable Raceway or In-Wall Cable Kit
Conceals power and AV cables for a clean finished look and to avoid a tangled, unsafe drop of cords.
Magnetic Dish or Parts Tray
Keeps small bolts, washers, and spacers organised so nothing rolls away mid-install.
The Pre-Installation Checklist
Work through each group in order. Items marked must are non-negotiable for a safe install. Should items are strongly recommended for a clean, long-lasting result. Nice-to-have items improve the finished look but can be revisited later.
Wall Assessment
Bracket and TV Compatibility
Viewing Height and Angle
Cable and Power Planning
Final Safety and Logistics Check
In-Wall Power Kits Require Caution
Running a power cable inside a wall is subject to electrical codes in most U.S. jurisdictions. Only use cable kits that are UL-listed for in-wall installation, and never splice or extend a standard power cord inside a wall. If an outlet is not already located near your mount position, hire a licensed electrician to add one - this is not a DIY task in most states.
Renters: Check Before You Drill
Many leases restrict wall modifications beyond a certain size or require written landlord approval. Unauthorized holes - especially large ones for cable routing - can result in deposit deductions or lease violations. Review your agreement and get any approval in writing before the installation begins.
When to Call a Professional
Most drywall-into-stud installations are manageable as a careful DIY project. However, certain situations justify hiring a licensed handyperson or contractor:
- Concrete or masonry walls require a hammer drill, masonry anchors, and experience reading wall depth.
- In-wall cable concealment that requires cutting through drywall or fishing cables past fire-blocking may require a permit in some municipalities - check your local building codes.
- Tile or stone walls in kitchens or bathrooms need diamond-tipped drill bits and precise technique to avoid cracking.
- Very large or heavy displays (85 inches and above) benefit from a two-person installation and may warrant a structural assessment.
If you're bringing in outside help, the pre-project contractor verification checklist covers how to vet licensing, insurance, and contract terms before signing anything. And if you're renting, consult your lease and speak with your landlord - the apartment inspection checklist is a useful reminder of what wall conditions to document before and after any modification.
The content on this site is for informational purposes only and is not a substitute for professional advice. Always consult a qualified professional for guidance specific to your situation.