

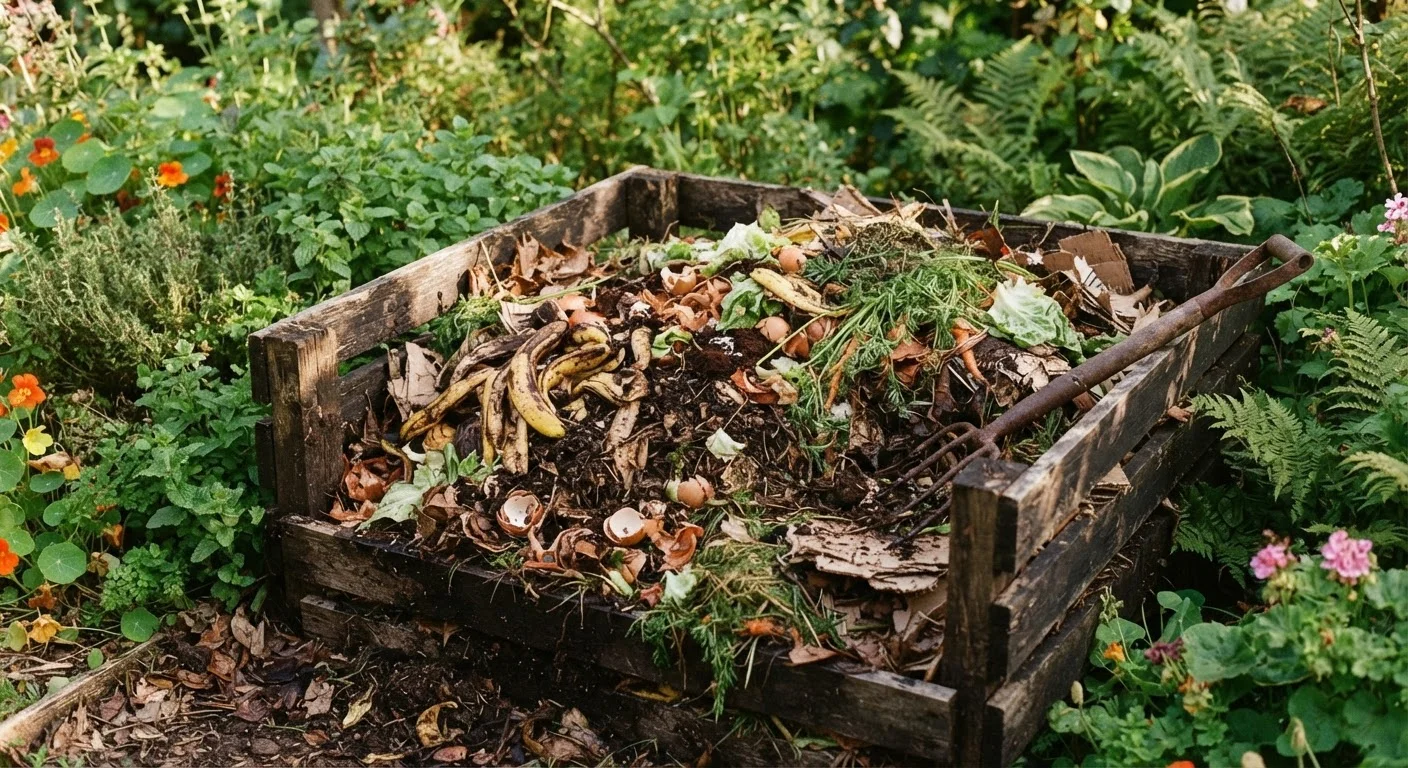
Why Composting Is Worth the Effort
Composting is one of the highest-value habits a home gardener can build. Instead of sending organic material to the landfill, you convert it into a stable, humus-rich amendment that feeds soil biology and improves the structure of everything from sandy loam to heavy clay. When worked into garden beds, finished compost encourages earthworm activity, buffers soil pH swings, and reduces the need for synthetic fertilizers - benefits that compound year after year.
If you're starting a vegetable garden from scratch, building a compost system early means you'll have amendment ready by the time your beds need enriching. Compost also works alongside garden mulch to retain moisture and suppress weeds - two tasks, one low-cost strategy.
What you will need
What Goes In - and What Stays Out
A compost pile is a living system, and what you feed it determines how well it performs. Materials fall into two broad categories:
- Browns (carbon-rich): dry leaves, cardboard torn into small pieces, paper bags, straw, wood chips, newspaper, and paper egg cartons.
- Greens (nitrogen-rich): vegetable and fruit scraps, coffee grounds and paper filters, tea bags (remove staples), fresh grass clippings, and plant trimmings.
A useful rule of thumb is three parts browns to one part greens by volume. Too many greens and the pile turns slimy and smelly; too many browns and decomposition slows to a crawl.
Keep These Materials Out of the Pile
Never add meat, fish, dairy, oily foods, or cooked meals to a home compost pile - these attract rodents and pests and can create persistent odor problems. Pet waste (dog and cat feces) also does not belong in home compost used on food gardens, as it can harbor pathogens. Diseased plant material is best discarded rather than composted unless your pile reliably reaches high temperatures.
Some gardeners debate whether eggshells and citrus peels belong in a home pile. Both are generally safe - eggshells decompose slowly but do no harm, and citrus breaks down fine in a well-managed pile. For a closer look at widespread gardening myths like these, see our article on garden advice that doesn't always hold up.
Setting Up Your Composting System
Choose a spot that's convenient to visit daily but away from outdoor seating areas. A shaded or partly shaded location in a US climate slows moisture evaporation in summer, though some morning sun speeds decomposition in cooler months. You'll need a container or a defined pile - both work.
Compost bin or wire mesh enclosure
Holds material in place, retains heat, and keeps pests out while allowing airflow.
Kitchen scrap collector (countertop bin)
Collects vegetable peels, fruit scraps, and coffee grounds conveniently before transfer to the outdoor pile.
Garden fork or pitchfork
Used to turn and aerate the compost pile, speeding decomposition.
Compost thermometer
Measures internal pile temperature to confirm active decomposition (ideally 130-160°F).
Compost screen or hardware cloth
Sifts finished compost to remove large undecomposed chunks before use.
Place your bin or pile directly on bare soil rather than concrete or pavers. Ground contact allows beneficial organisms - bacteria, fungi, and earthworms - to migrate upward into the material. If you're working in a small yard or on a patio, a sealed tumbler-style container works well; see our small-space gardening guide for more compact growing strategies that pair naturally with container composting.
Start with a brown base layer
Add a four-to-six-inch layer of coarse brown material - wood chips, straw, or torn cardboard - directly on the ground inside your bin. This base promotes drainage and allows air to enter from the bottom, preventing the anaerobic (oxygen-free) conditions that cause odor.
Add your greens and kitchen scraps
Layer two to three inches of nitrogen-rich material on top of the brown base. Kitchen scraps like vegetable peels, fruit cores, and coffee grounds work well. Fresh grass clippings and plant trimmings from the yard are equally effective. Spread materials evenly rather than dumping them in one spot.
Cover with another brown layer
Top each green addition with a layer of browns roughly three times the volume of the greens you just added. This ratio keeps the pile balanced and controls odor. Dry leaves are the most readily available brown material for most US homeowners.
Maintain moisture like a wrung-out sponge
The pile should feel damp throughout - not soaking wet, not bone dry. A useful mental benchmark is the moisture level of a wrung-out kitchen sponge. If the pile feels dry, water it lightly with a hose. If it's dripping wet after rain, add a batch of dry browns and turn the pile.
Turn the pile regularly
Every one to two weeks, use a garden fork to move material from the outer edges toward the center and from the bottom toward the top. Turning introduces oxygen, which feeds the aerobic bacteria responsible for decomposition and heat generation. More frequent turning produces finished compost faster.
Monitor and adjust as the pile matures
A healthy active pile will feel noticeably warm in the center - sometimes hot enough to steam on a cold morning. After several weeks, the pile will shrink in volume as material breaks down. At this stage, stop adding fresh kitchen scraps to the main pile and start a new pile alongside it, letting the first batch finish. This two-bin approach gives you a continuous supply of compost.
Troubleshooting and Harvesting
Even a well-built pile can stall or develop problems. Most issues trace back to one of three variables: moisture, airflow, or the carbon-to-nitrogen ratio. Use the table below as a quick diagnostic:
| Symptom | Likely Cause | Fix |
|---|---|---|
| Pile smells like ammonia | Too many greens | Add browns and turn |
| Pile smells like rotten eggs | Too wet, too compacted | Turn and add dry browns |
| Pile is dry and inactive | Too little moisture or too many browns | Water lightly and add greens |
| Pile is hot only in the center | Pile too small | Combine with a second pile or add more material |
Finished compost looks and smells like dark, crumbly soil. You won't recognize individual scraps, and it should have an earthy, pleasant odor. Screen out any large unfinished chunks and return them to a new pile. Finished compost can be worked into garden beds before planting, used as a top dressing around established plants, or mixed into potting mixes. If your garden beds go dormant in winter, fall cleanup is an ideal time to apply compost and let it integrate over the cold months.
Use Compost as a Soil Booster, Not a Replacement
Finished compost improves soil texture and feeds microbial life, but it is not a complete fertilizer. For vegetable gardens with heavy feeding crops, you may still need to supplement with additional nutrients based on a soil test. Applying two to three inches of compost worked into the top six inches of bed soil each season is a practical and sustainable maintenance rate for most US home gardens.
The content on this site is for informational purposes only and is not a substitute for professional advice. Always consult a qualified professional for guidance specific to your situation.