
Why Caulk and Weather Stripping Matter More Than Most Homeowners Realize
Air leaks around windows, doors, and exterior penetrations are among the most common causes of energy waste in American homes. Caulk and weather stripping are the two primary tools for sealing those gaps - but both are frequently applied incorrectly, chosen poorly, or neglected entirely until damage is visible.
The consequences go beyond a higher utility bill. Moisture intrusion through unsealed gaps can lead to mold growth, wood rot, and deteriorating insulation. For context on how moisture problems compound over time, our article on keeping a crawl space dry covers how small entry points lead to larger structural issues.
This guide focuses on the specific mistakes homeowners make most often - and the straightforward corrections that prevent them.
Caulking over existing, deteriorated caulk instead of removing it first.
Why it happens: Removing old caulk is time-consuming, and the new material looks clean immediately after application, making the shortcut feel like it worked.
Using the wrong type of caulk for the location or substrate.
Why it happens: Many homeowners grab a single tube of all-purpose caulk and use it everywhere, not realizing that formulations differ significantly by application.
Installing weather stripping that doesn't make full contact with the door or window surface.
Why it happens: Homeowners often purchase weather stripping by profile shape without verifying the actual gap size, resulting in material that's either too thin or misaligned.
Caulking only the interior side of windows and skipping the exterior.
Why it happens: Interior work is easier to access and immediately visible, so homeowners focus there and assume the outside is adequately sealed.
Skipping annual inspections and only addressing caulk or weather stripping after a problem becomes obvious.
Why it happens: These materials degrade gradually, and homeowners rarely notice until drafts are severe or moisture staining appears.
Putting Correction Into Practice
Once you understand what goes wrong, a seasonal inspection routine becomes your most reliable defense. Walk the exterior of your home each fall and spring with a flashlight and a notepad. Press gently along existing caulk lines to test for give or separation. Run your hand along door frames and window sashes to feel for drafts. Pay particular attention to areas where different building materials meet - brick to wood, siding to trim, foundation to framing - because thermal movement happens at a different rate in each material.
Don't Seal Weep Holes or Ventilation Gaps
Not every gap in a home's exterior is an air leak to be sealed. Weep holes in brick veneer and ventilation slots in soffits serve important moisture-management and airflow functions. Caulking these shut can trap moisture inside wall cavities or block essential ventilation. When in doubt about whether a gap should be sealed, consult a home inspector or building contractor before applying caulk.
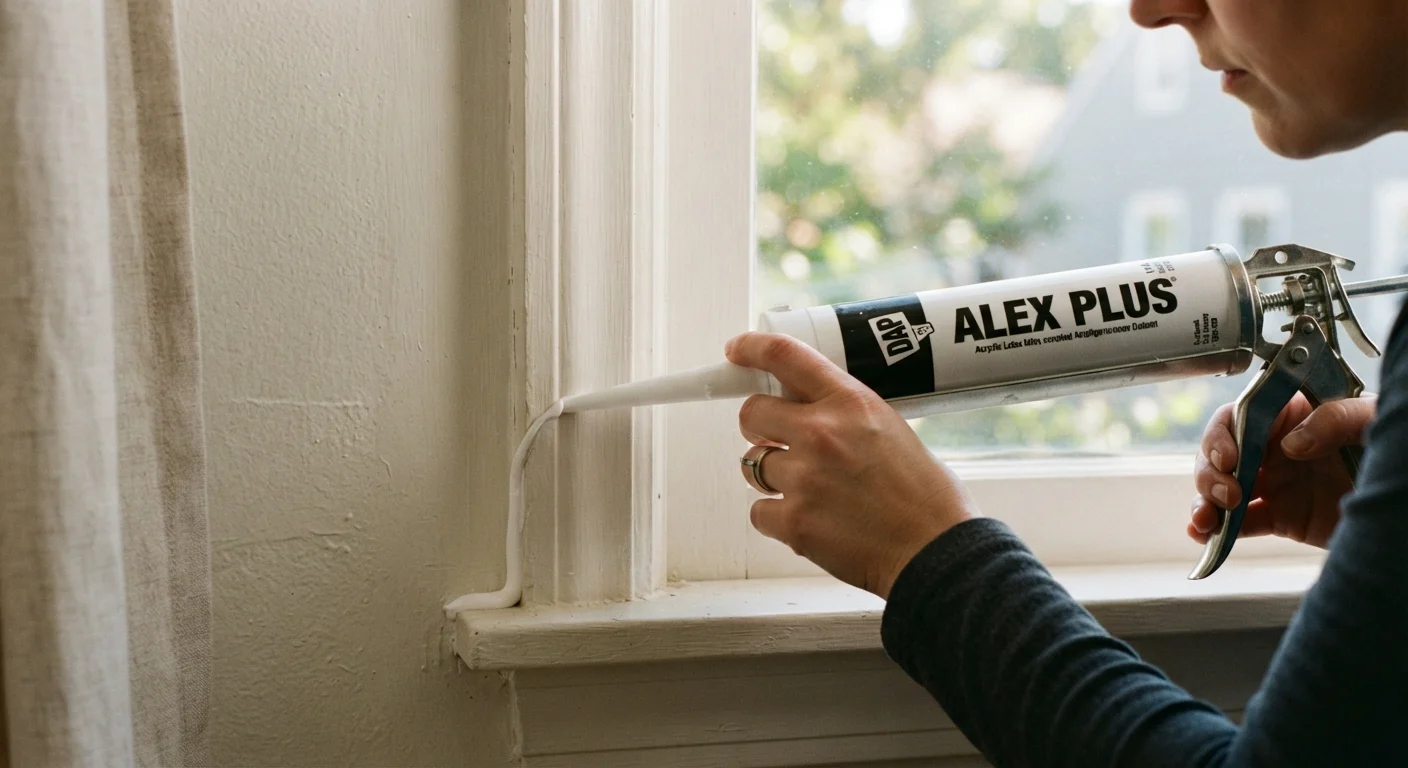
When you do find failed caulk, resist the urge to simply layer new caulk on top. Use a plastic or wooden scraper (not metal, which can damage surfaces) to remove all loose material, clean the surface with rubbing alcohol, allow it to dry fully, and then apply a fresh bead. Tool the bead smooth with a damp finger or caulk finishing tool immediately after application.
For weather stripping, measure the gap you're filling before purchasing replacement material. Compression types work best for door tops and sides; door sweeps work best along the bottom threshold. The stripping should compress slightly when the door closes - if it compresses so much that the door is hard to shut, it's too thick; if it moves freely without resistance, it's too thin to seal.
These same principles of proactive inspection apply to other home systems. Our overview of gutter maintenance explains how routine checks prevent small issues from becoming costly repairs, and where heat loss actually starts clarifies how sealing at ground level fits into a broader energy-efficiency strategy. If your maintenance habits have been shaped by conventional wisdom rather than verified practice, it's also worth reviewing common home maintenance myths before starting your next project.
The content on this site is for informational purposes only and is not a substitute for professional advice. Always consult a qualified professional for guidance specific to your situation.